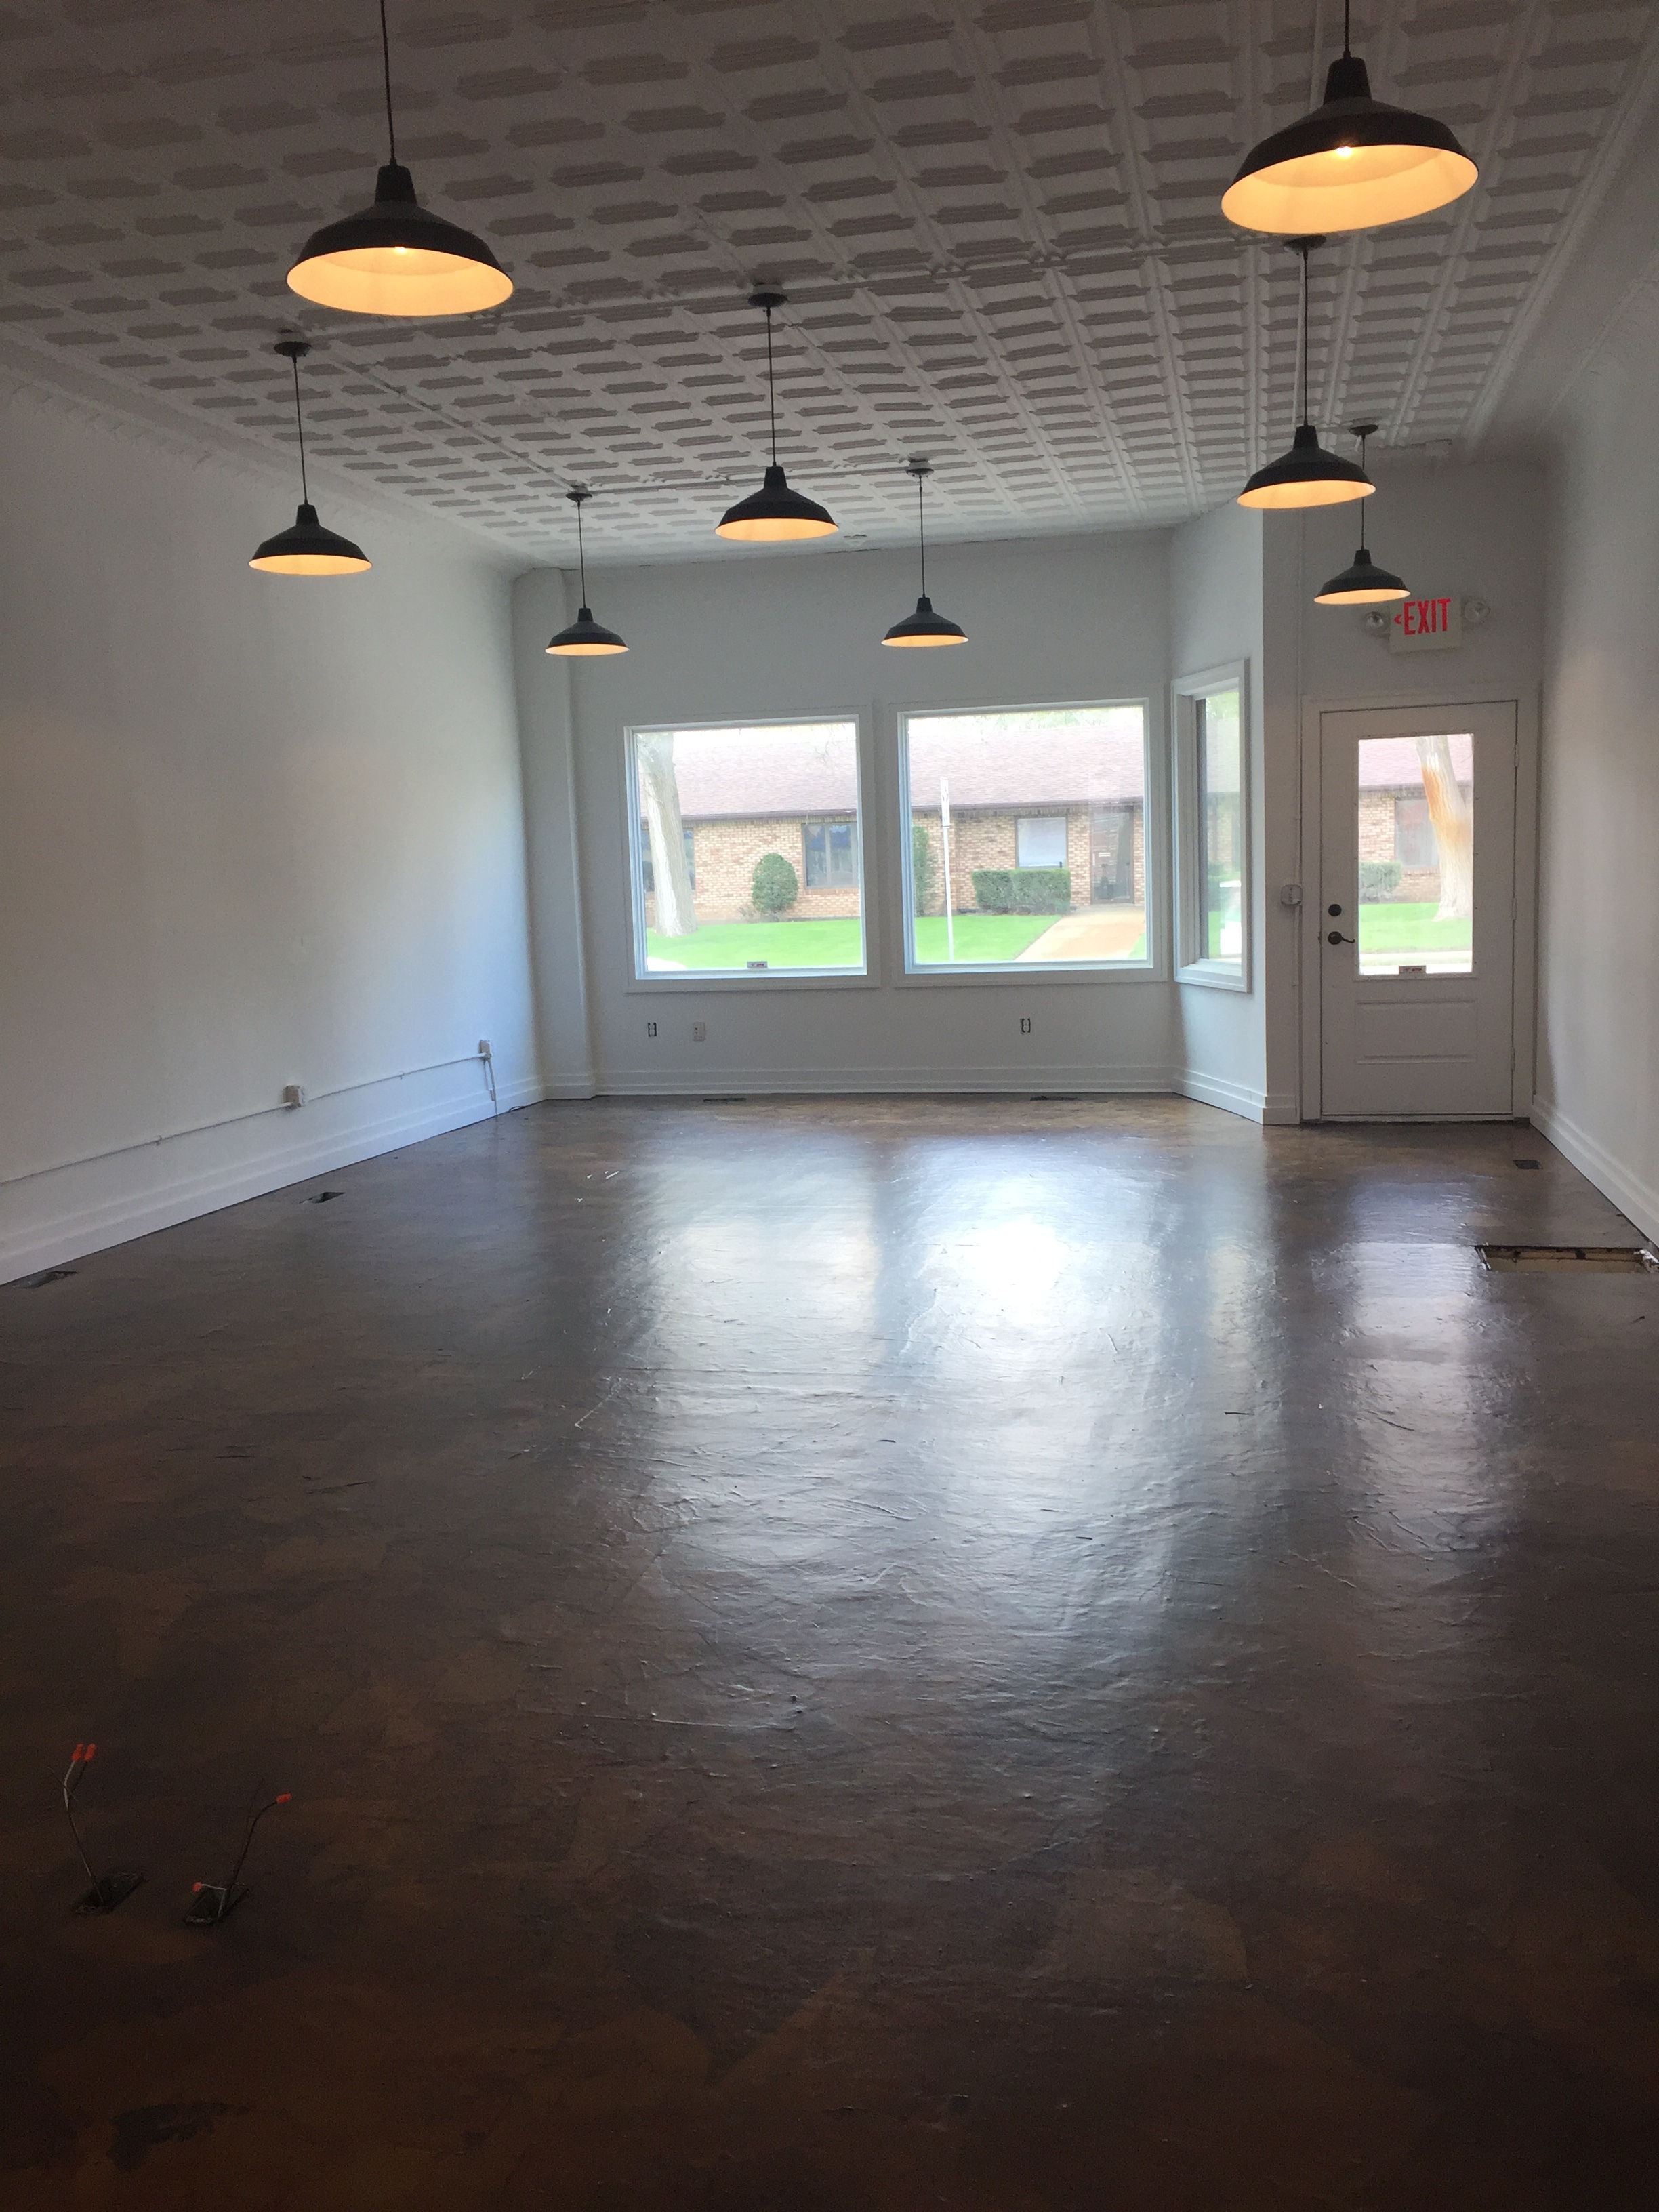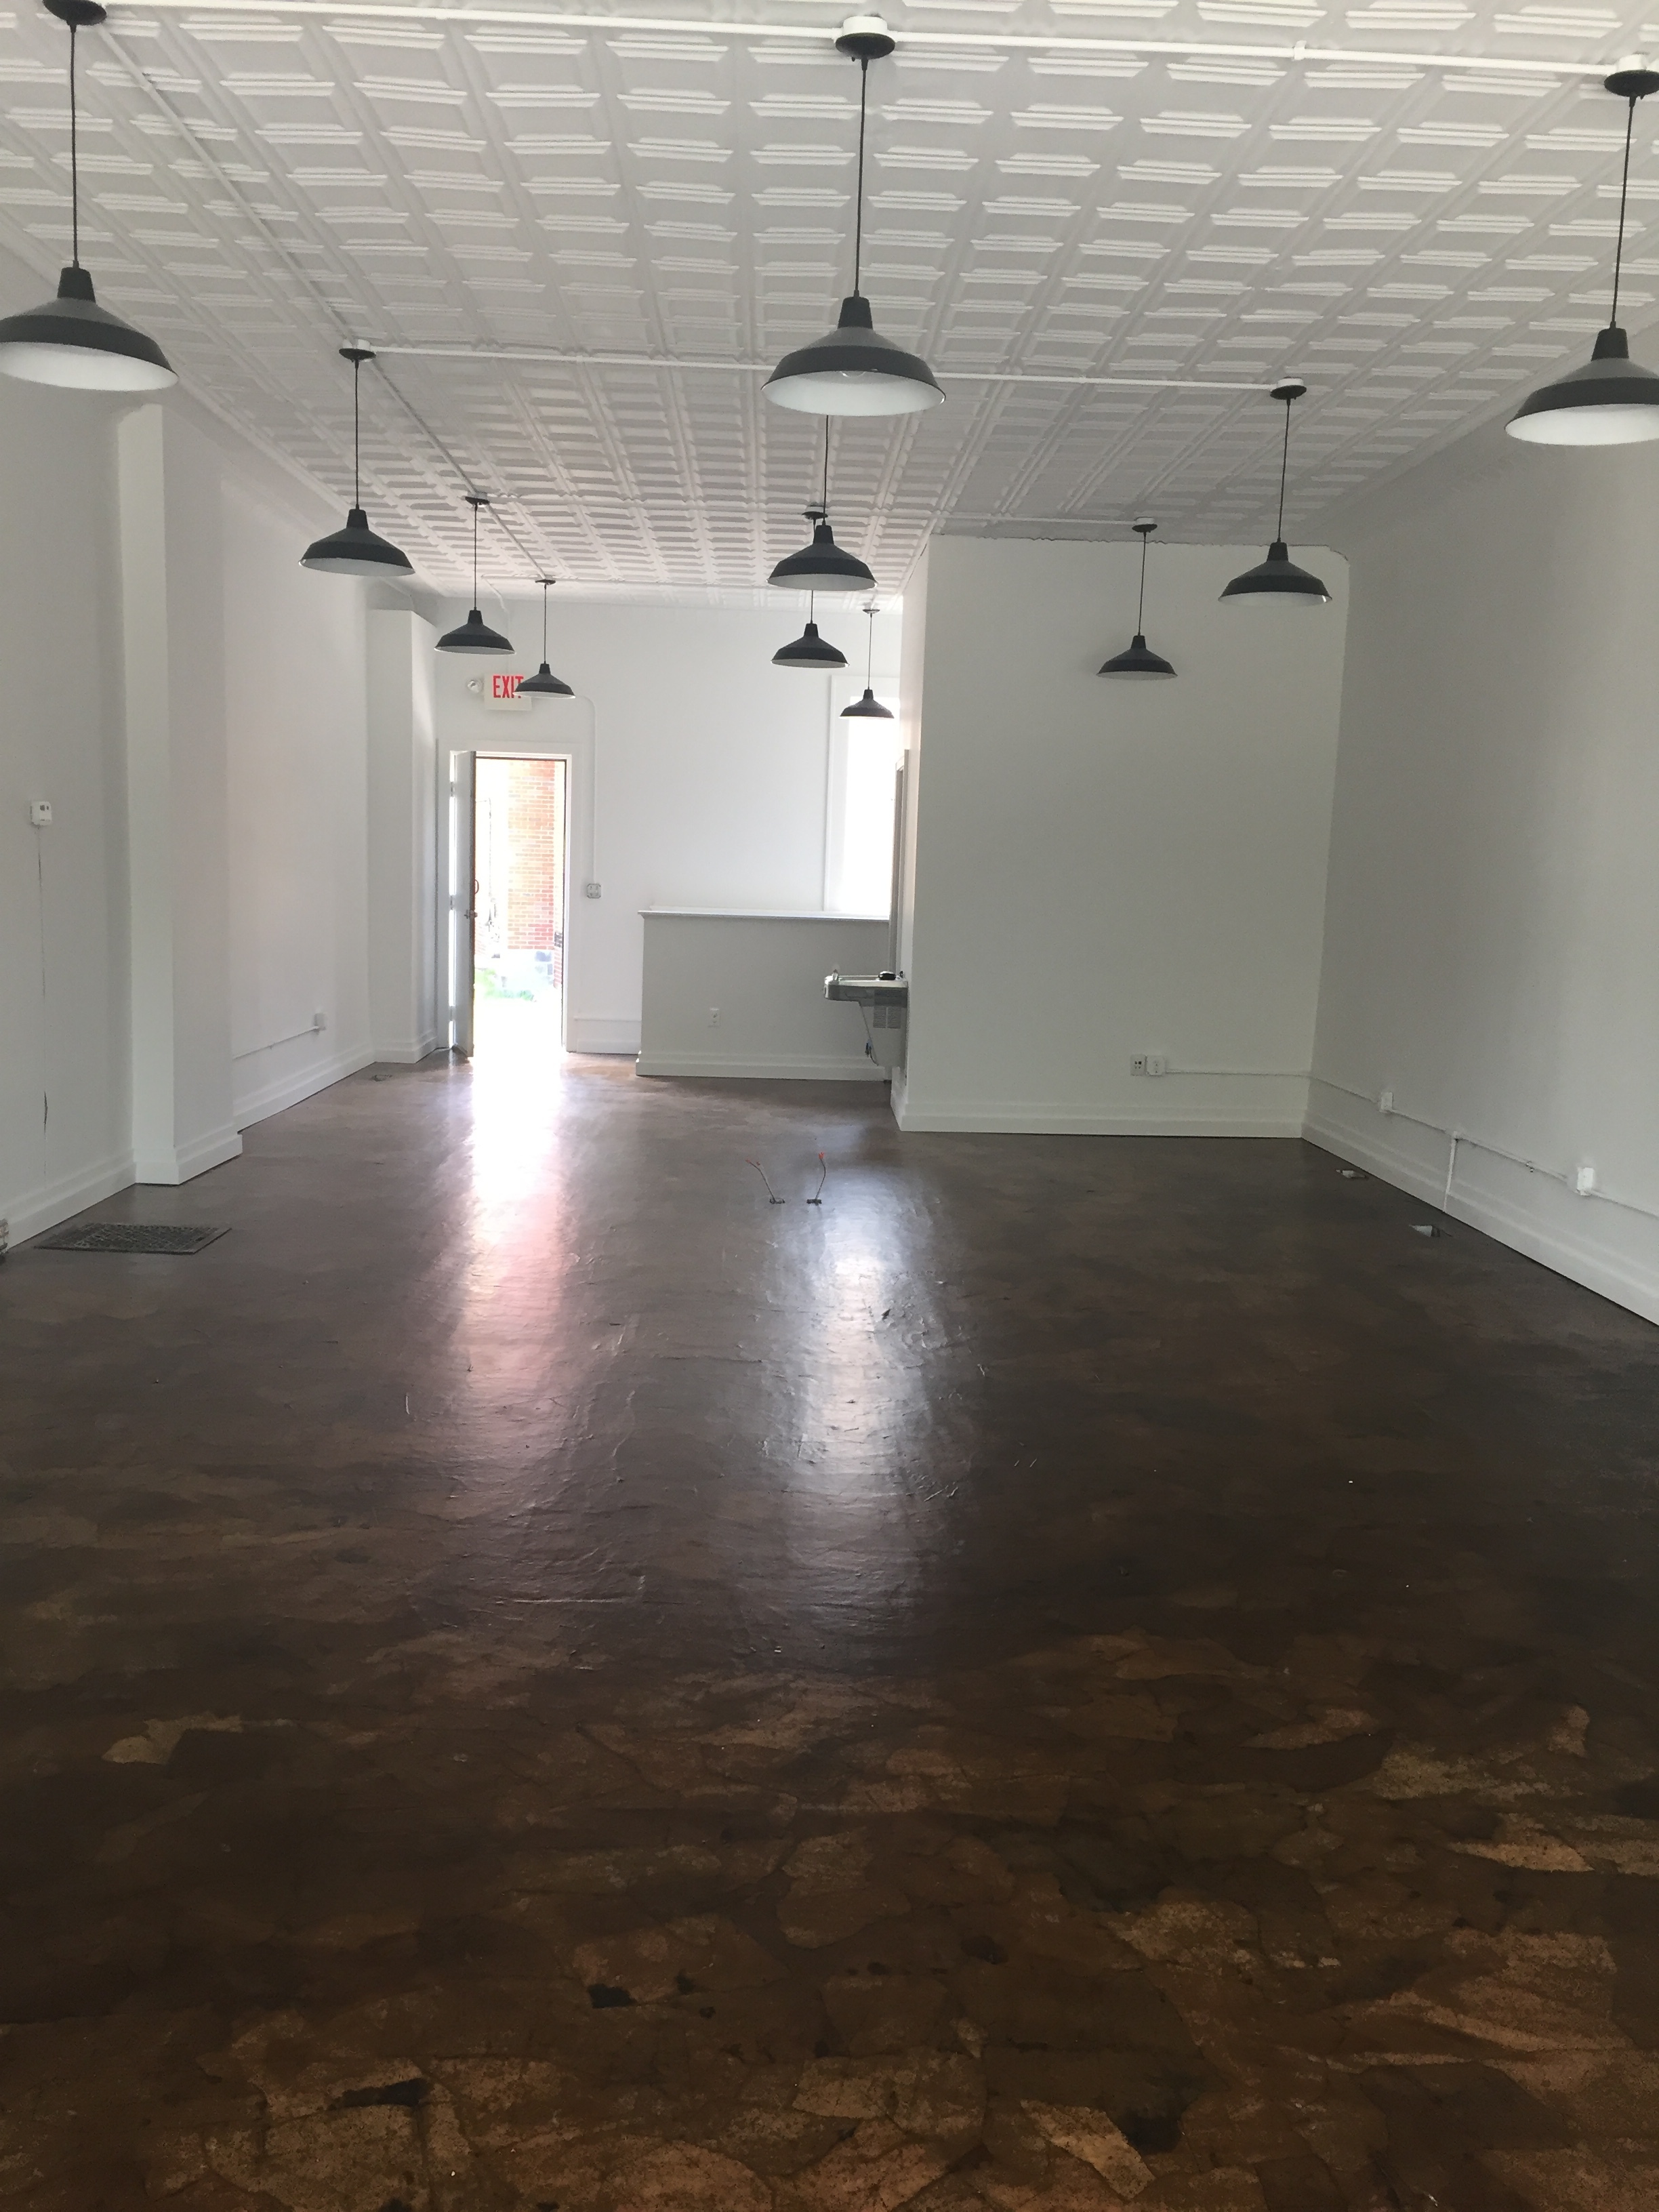
After researching options for a cost effective, environment friendly, and attractive flooring we decided to move forward with a DIY flooring using paper bags. Over the course of our 4,000 square foot commercial building remodel we have been collecting brown paper bags from grocery stores, friends, neighbors, and recycling centers. With the subfloor complete in the first 1,000 square feet suite, we were ready to start the process! I want to reiterate that having a proper subfloor & a clean starting surface are vital to your success!
Materials: Paper Bags, Water, Elmers Glue All, an inexpensive paint brush, a paint bucket, a paint stirrer, stain (optional), t-shirt material, polyurethane or epoxy & a polyurethane applicator.

Step 1. We took our collection of paper bags and ripped them into various size pieces. We removed handles, creases, etc. then crinkled them up; this allowed them to have different creases and wrinkles that provided an extra element of hoopla!
Step 2. After having collected a good amount of crumpled pieces we purchased 3 gallons of Elmers Glue All. We found this product at Lowe's but it can also be purchased at most craft stores or online. There are multiple sources for DIY paper floors and contradictions as to the ratio of water to glue. We found that three parts water to one part glue was the most ideal. 50/50 was a little too thick. Overall, I used my best judgement to find a consistency that worked best!

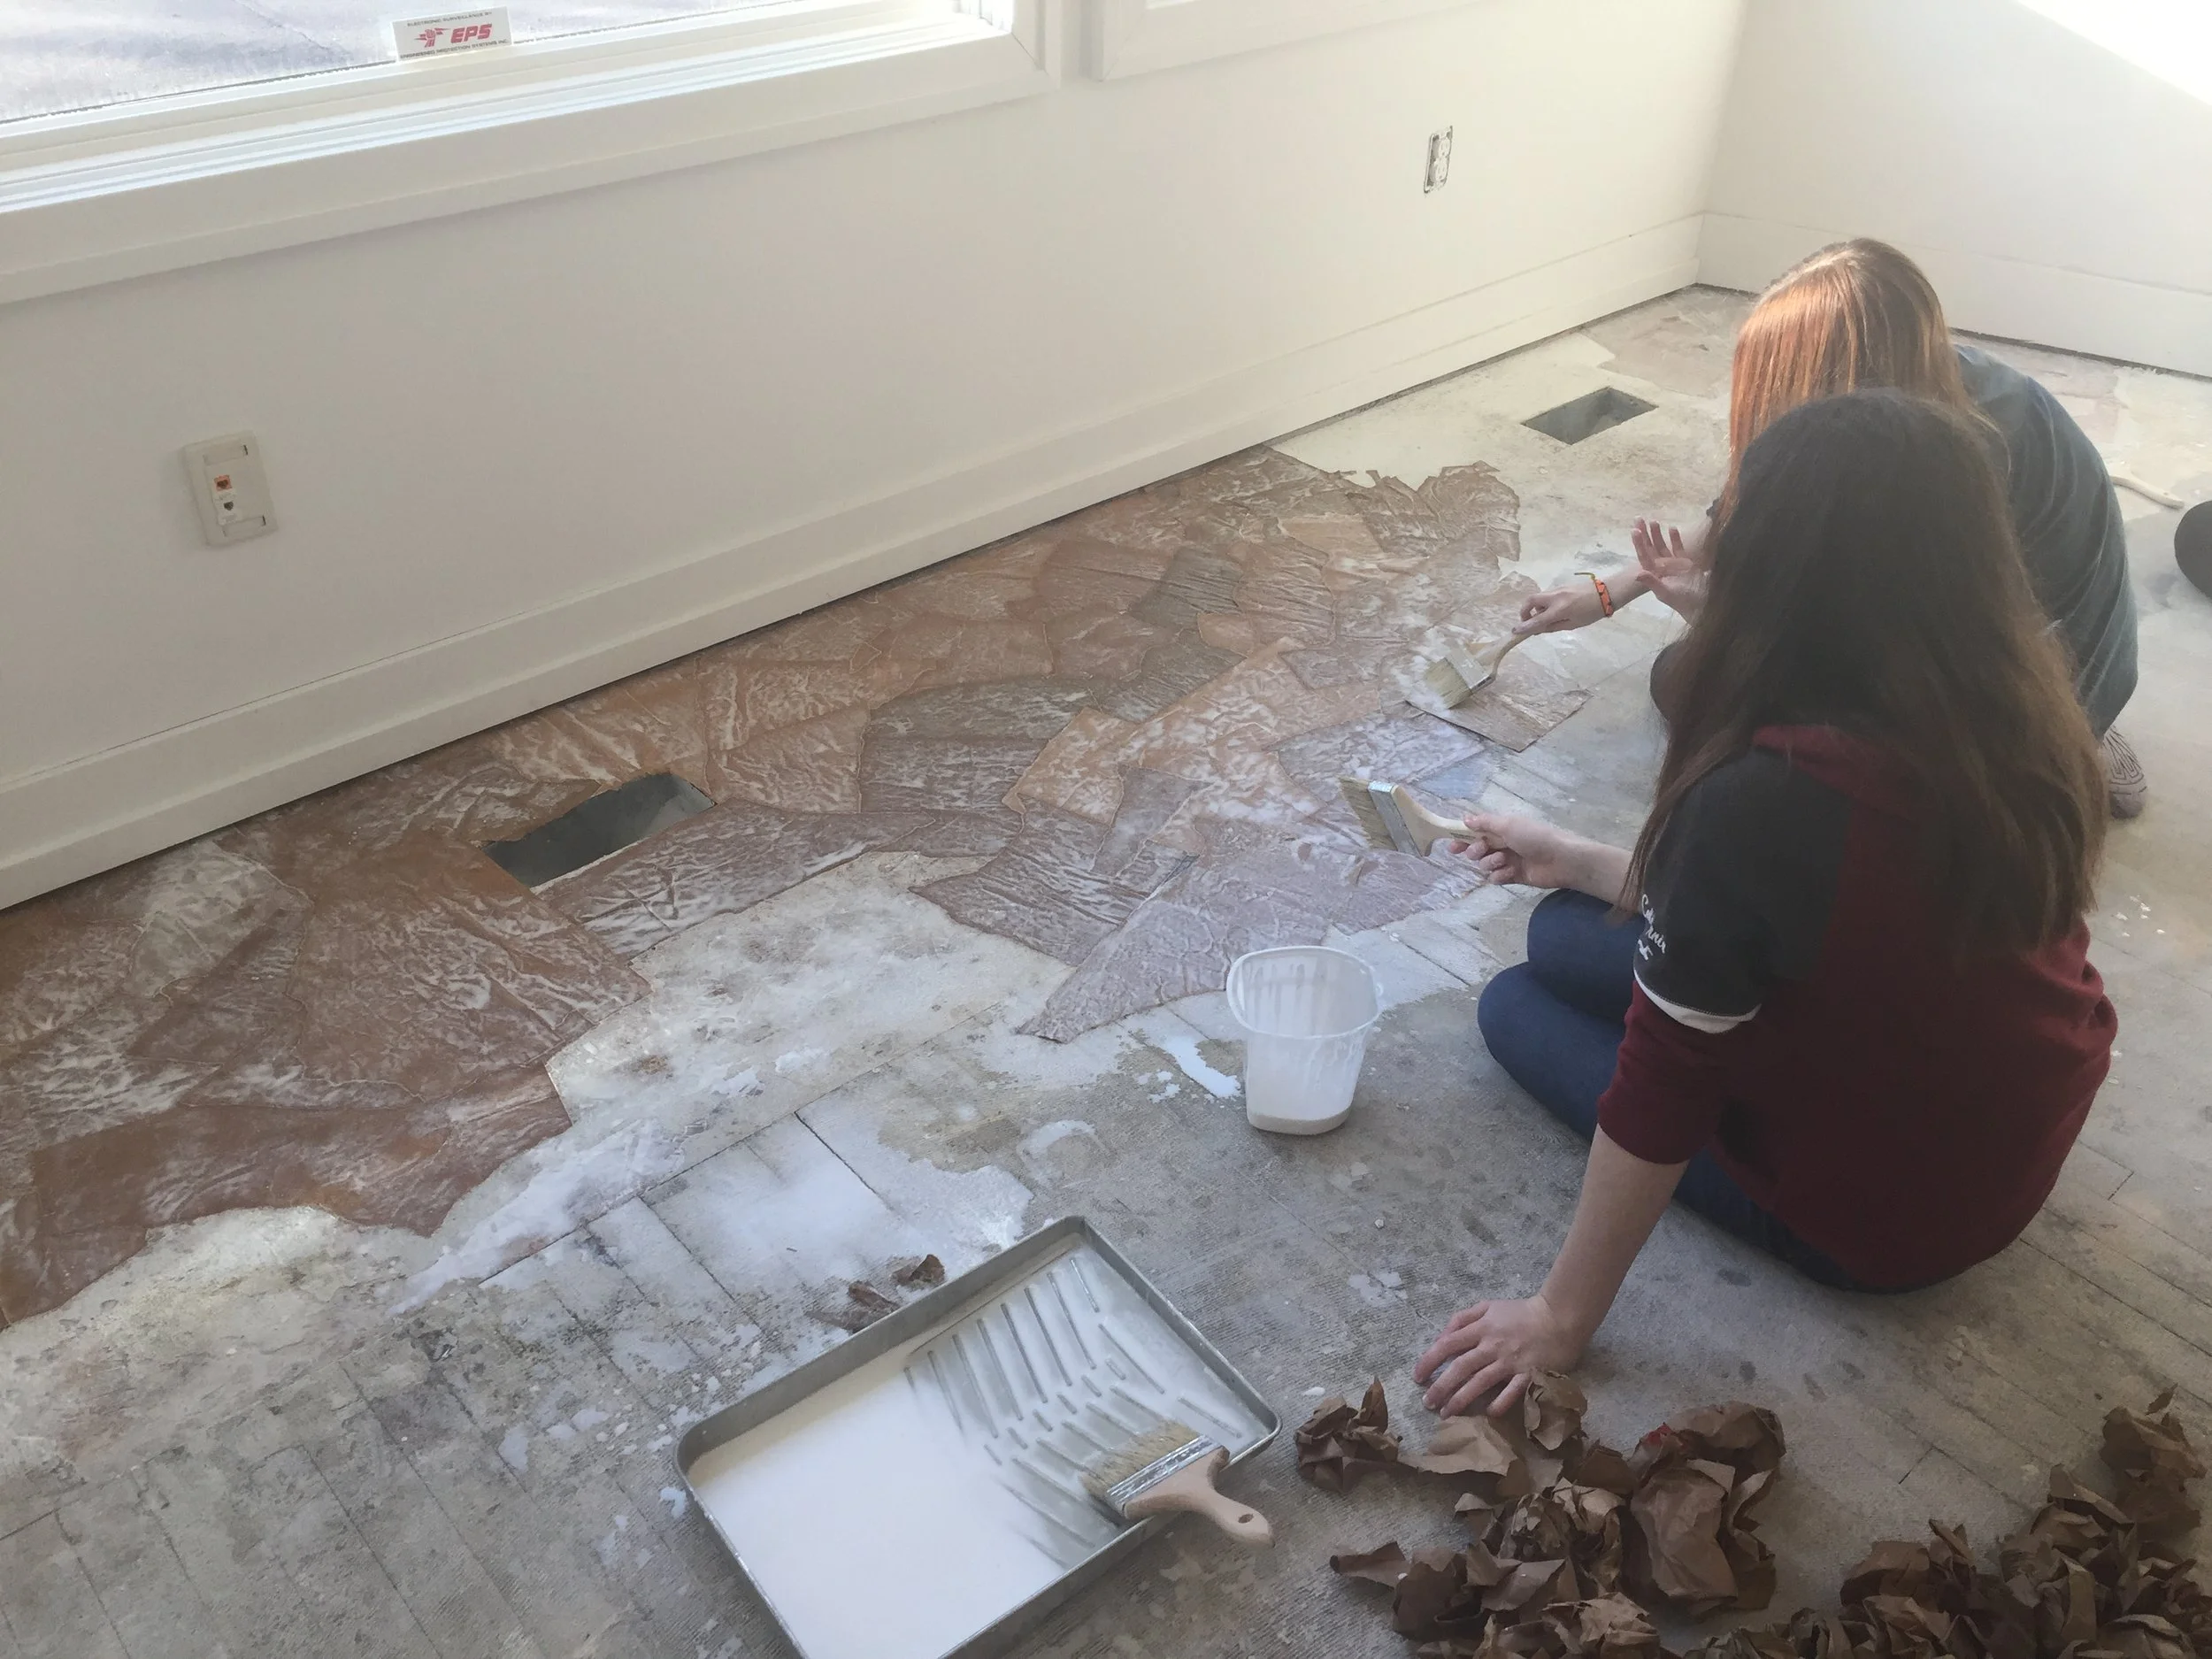
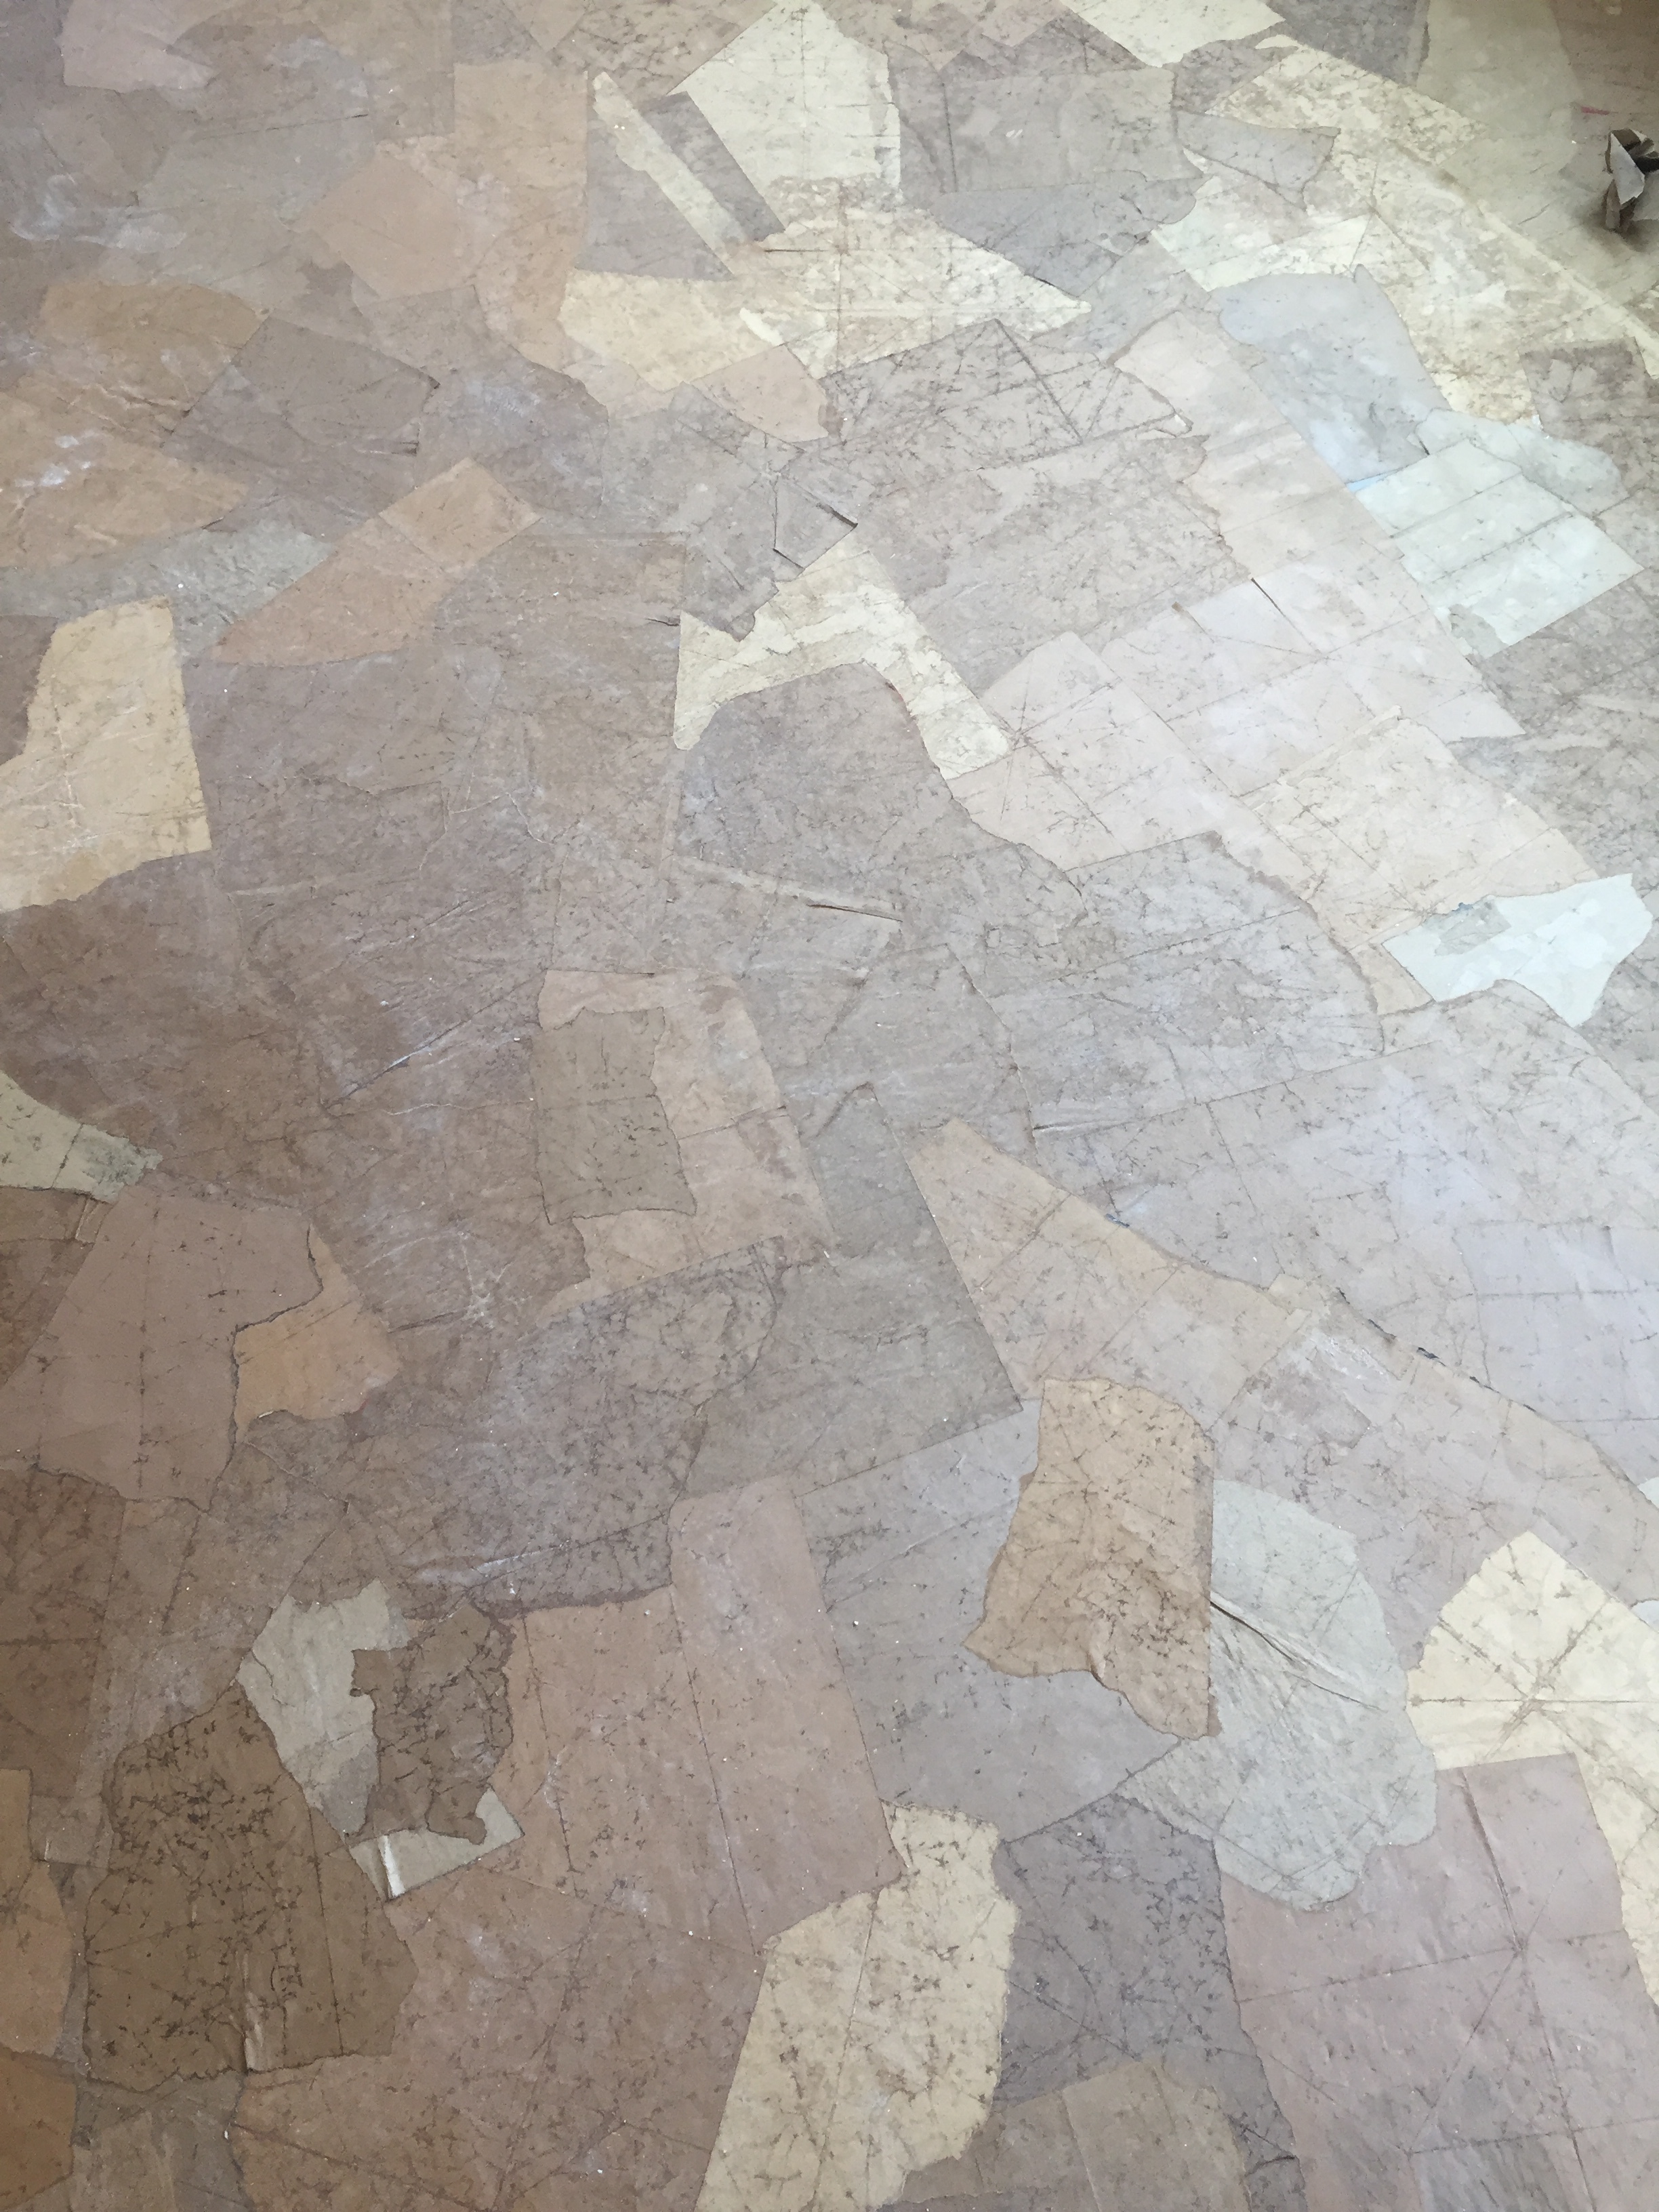
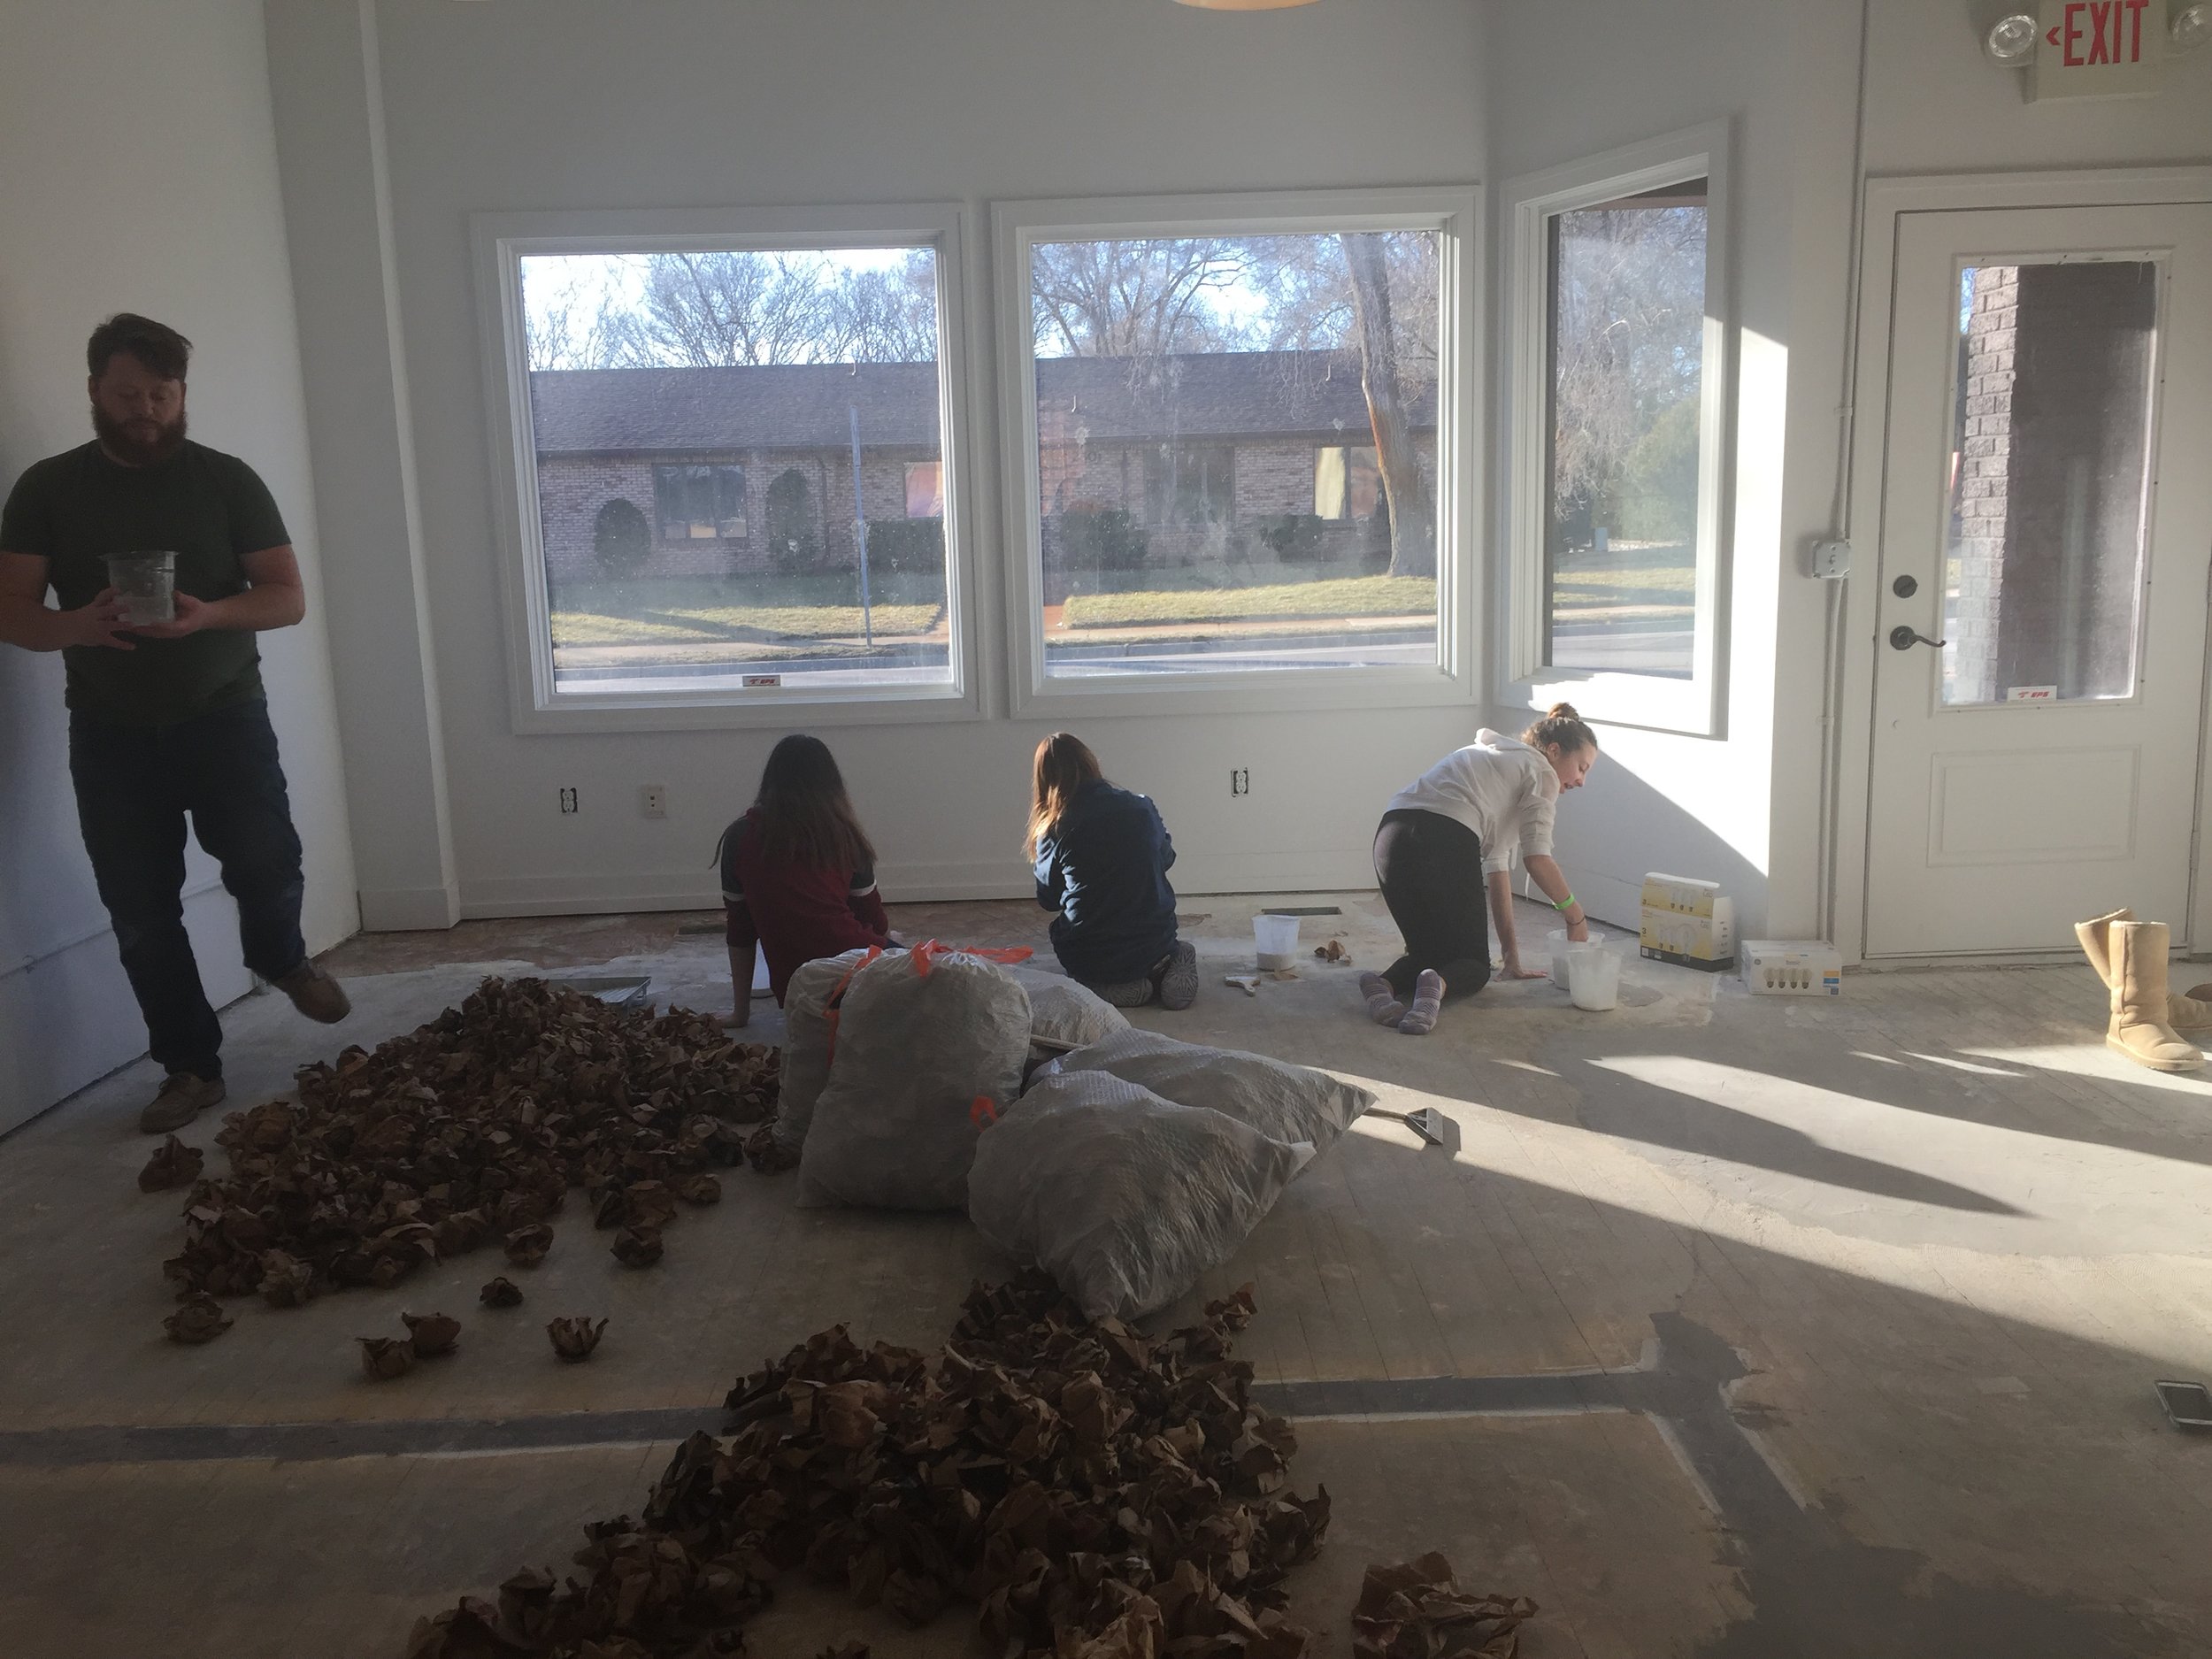
Step 3. With a paint brush we applied the glue mixture to the subfloor starting along one corner of the room & giving us the ability to work our way out. We used bags along the wall that had straight edges, whereas, through the rest of the room we tried to avoid edges. We also made sure that any bag logos or writing was facing downward and not visible to the eye. In the paint bucket, roller pan, or whatever you are using to store your glue in, we dipped the entire piece of paper leaving it saturated in the mixture and ready to adhere to the floor. We laid each piece and flattened it out making sure there were no bubbles or creases.
Our space was approximately 1,000 square feet so we repeated this process a zillion times over the course of several days. What we found was that each day when we returned to check our work the bags looked better and better; but they definitely looked unfinished and there were occasional spots that would need further maintenance.
Step 4. We examined the floor for raised edges, small bumps, or general “ugly” areas. In these spots we ripped out the bad bag and replaced it simply by adding a new bag right over top. For example, around your vents or walls you may not have applied enough glue and the piece may not be laying flat. If you rip that out and replace it, please allow 24 additional hours of dry time and you are good to go!
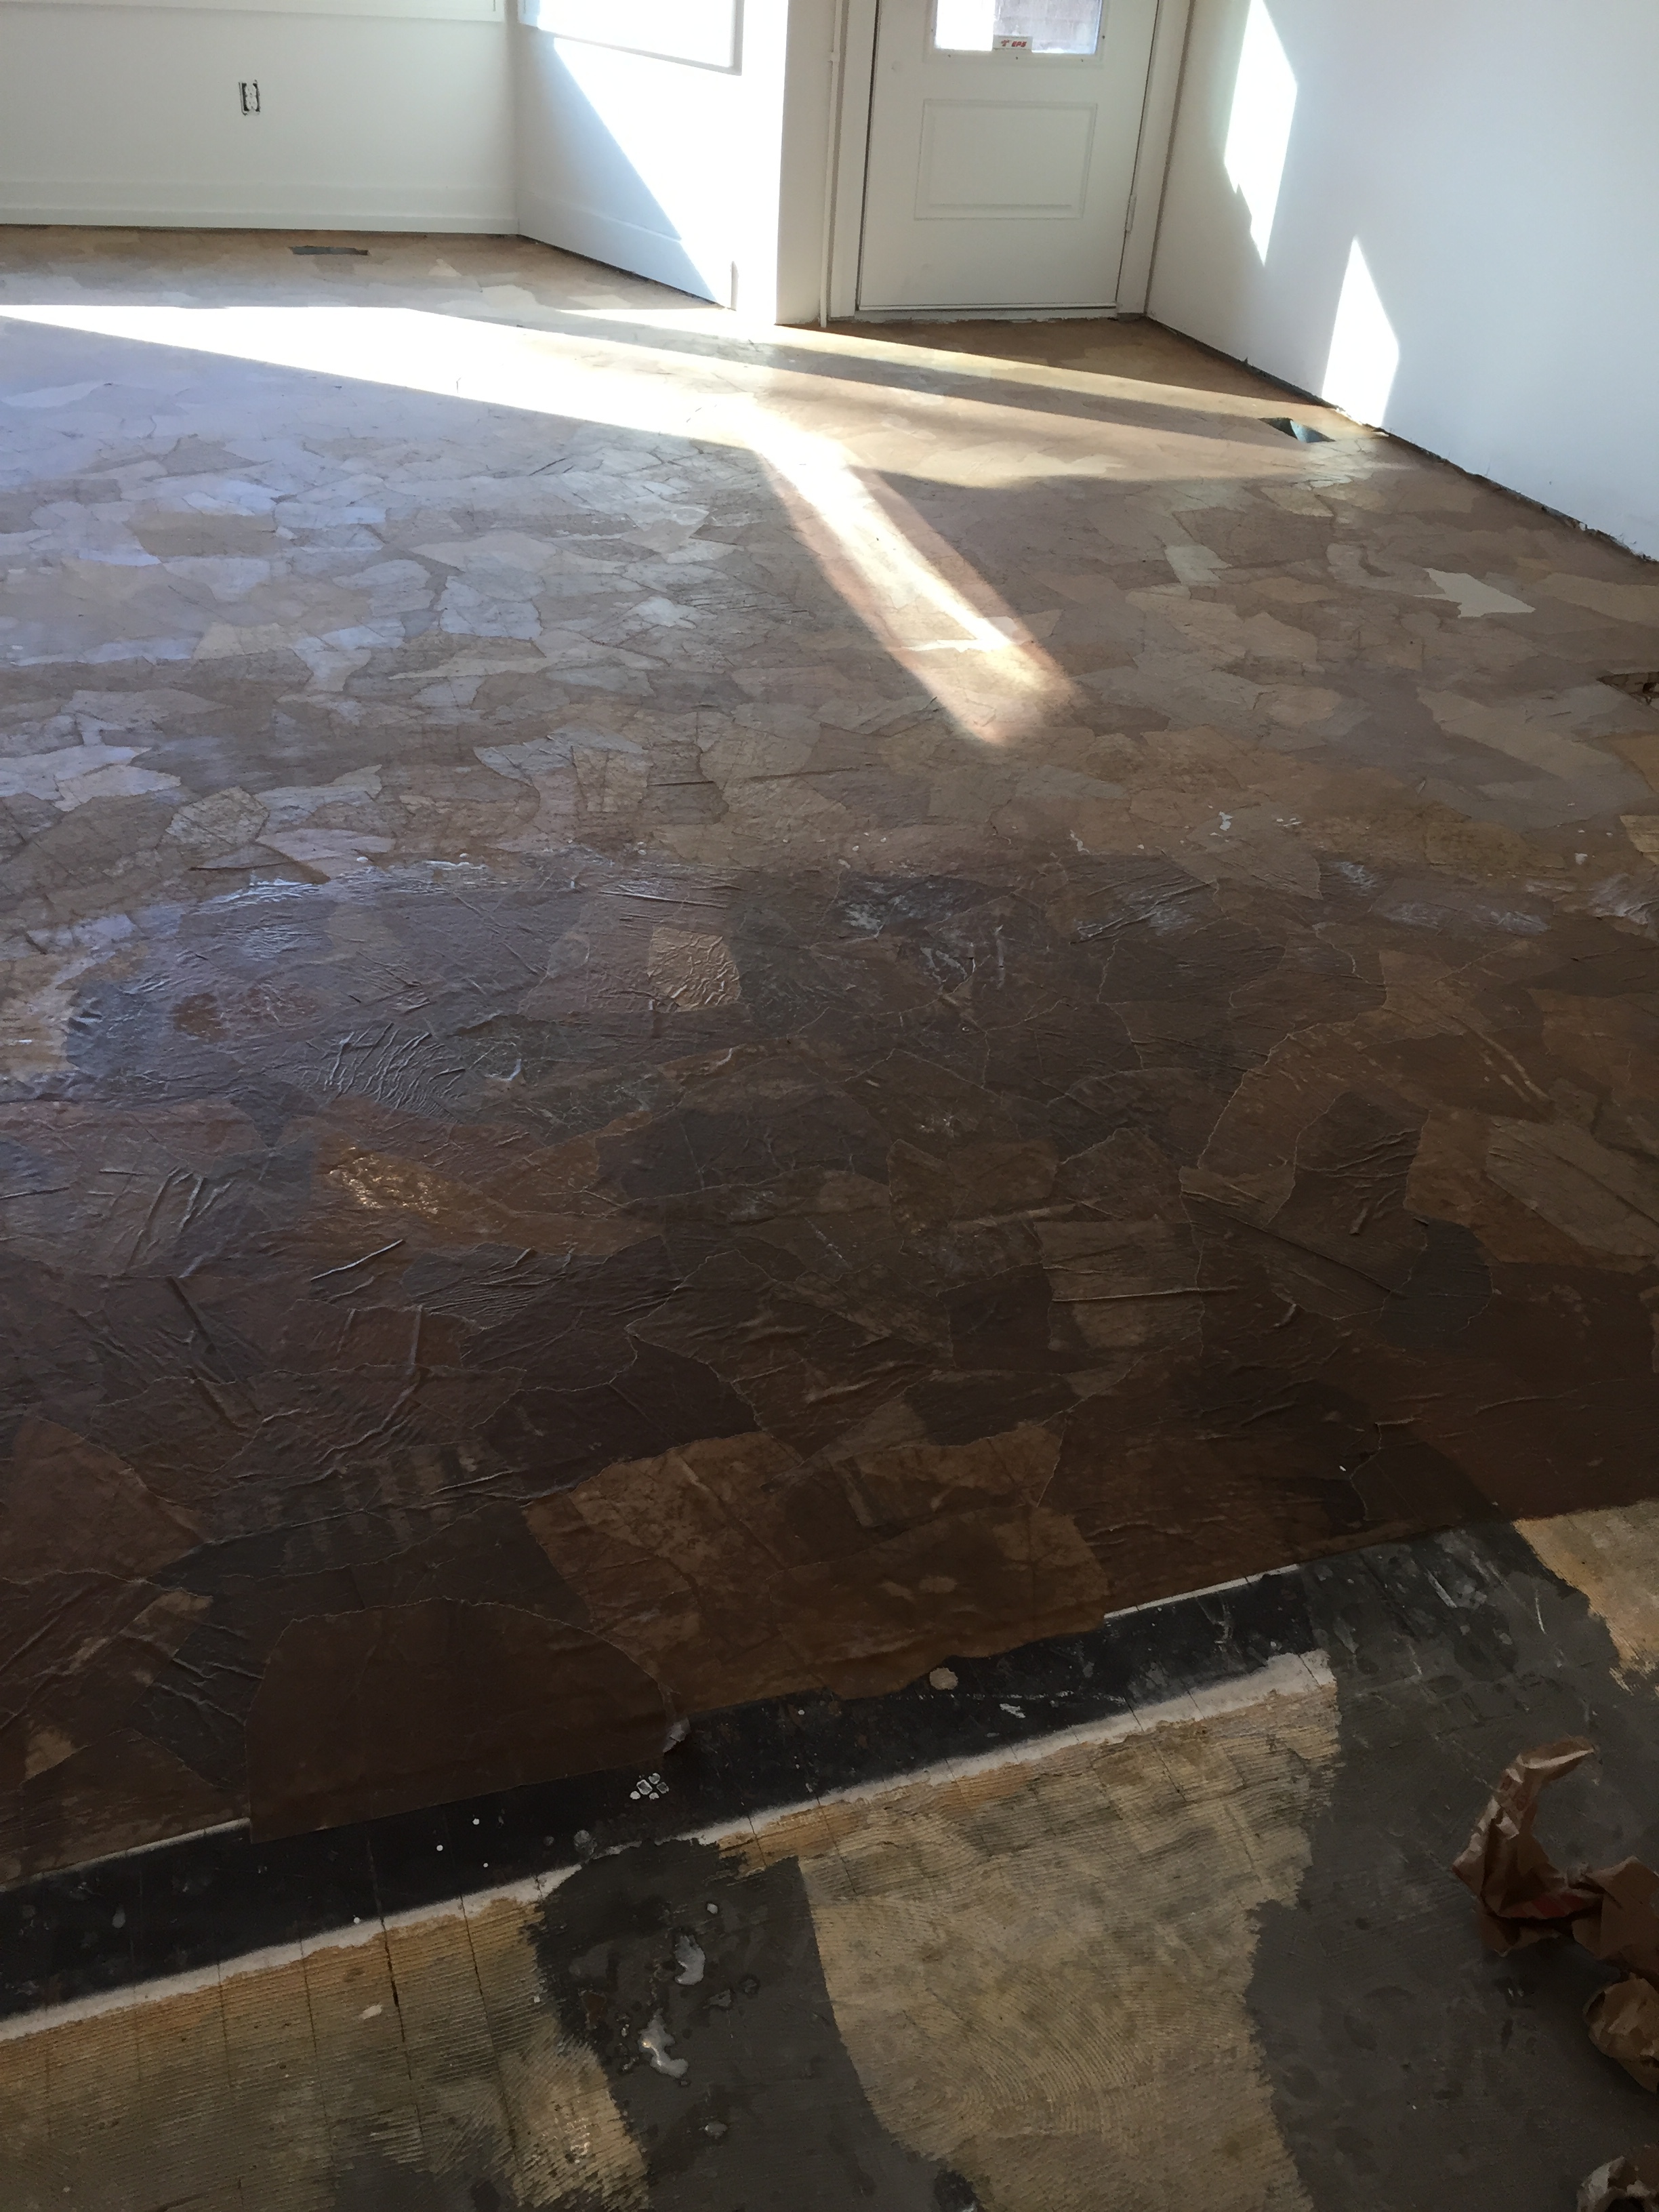
Step 5. This is an entirely optional step. If you like the look of brown then you can skip this step, add a polyurethane and call it a day. If you are going for a different color then find a wood stain that fits your desired goal and paint it right overtop. We purchased a Minwax wood finish in Dark Walnut. We used old t-shirts and materials to apply and quickly wipe the stain away.

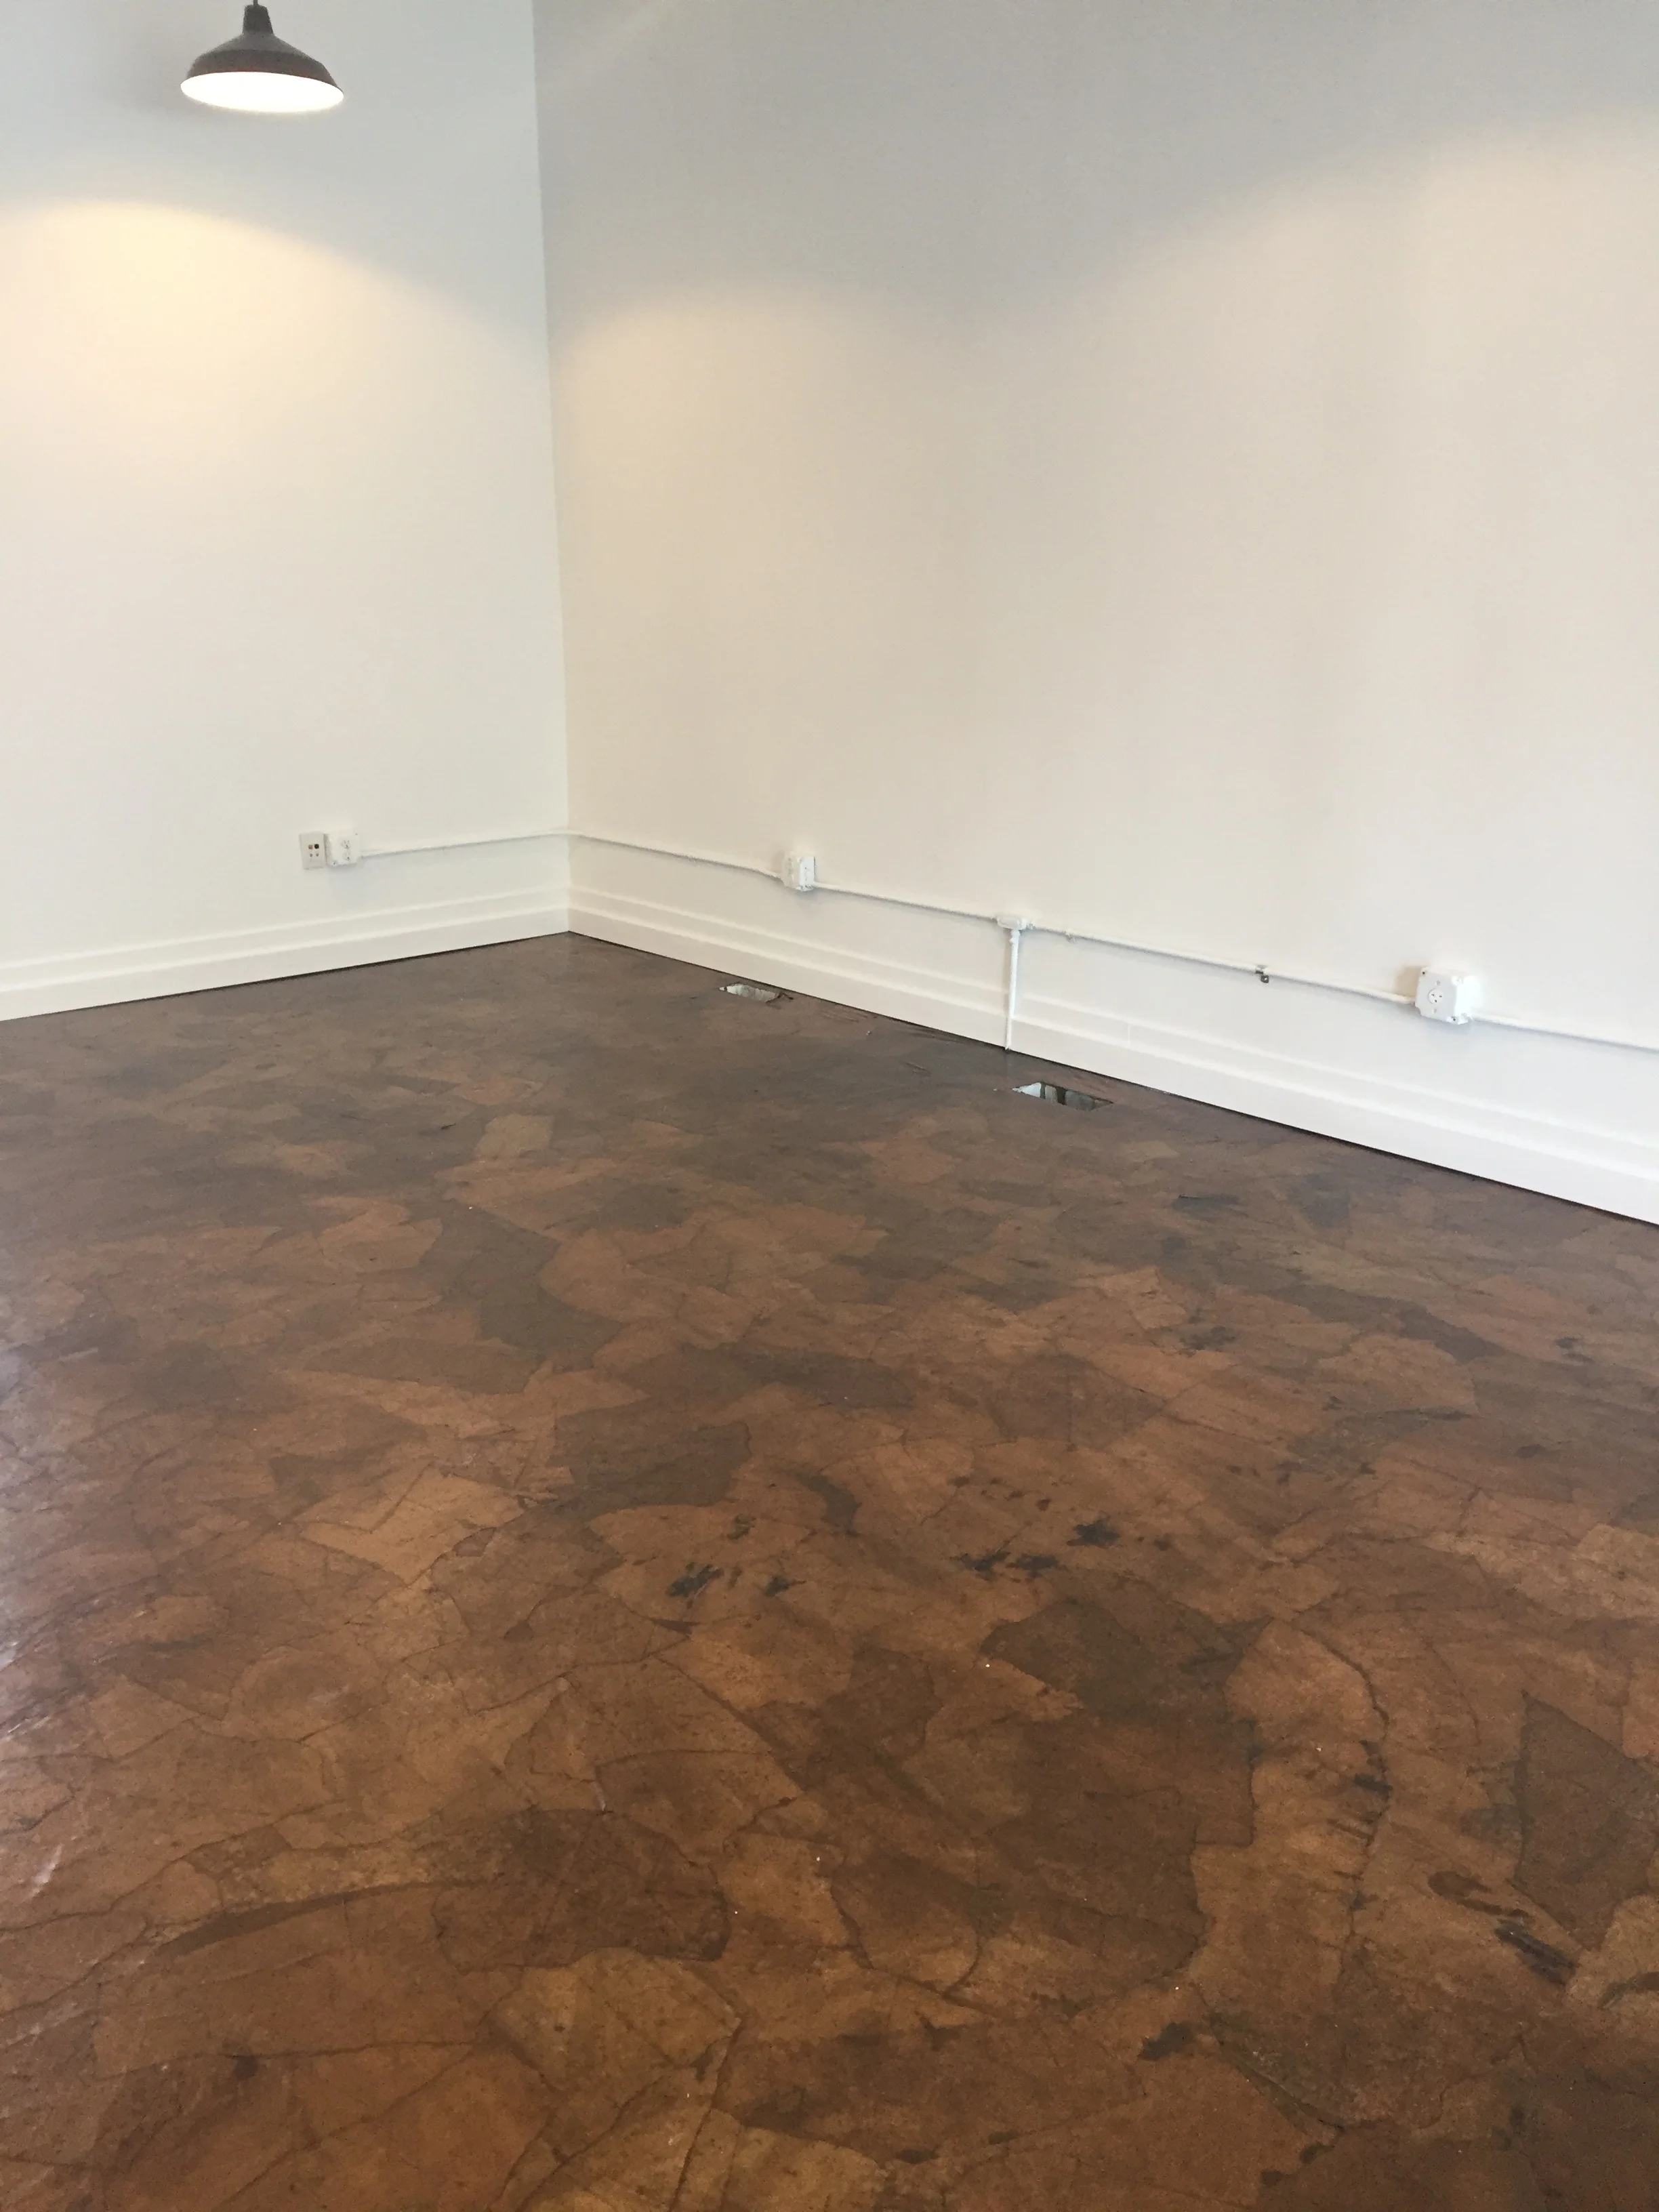
Once Dry the floors looked copper!
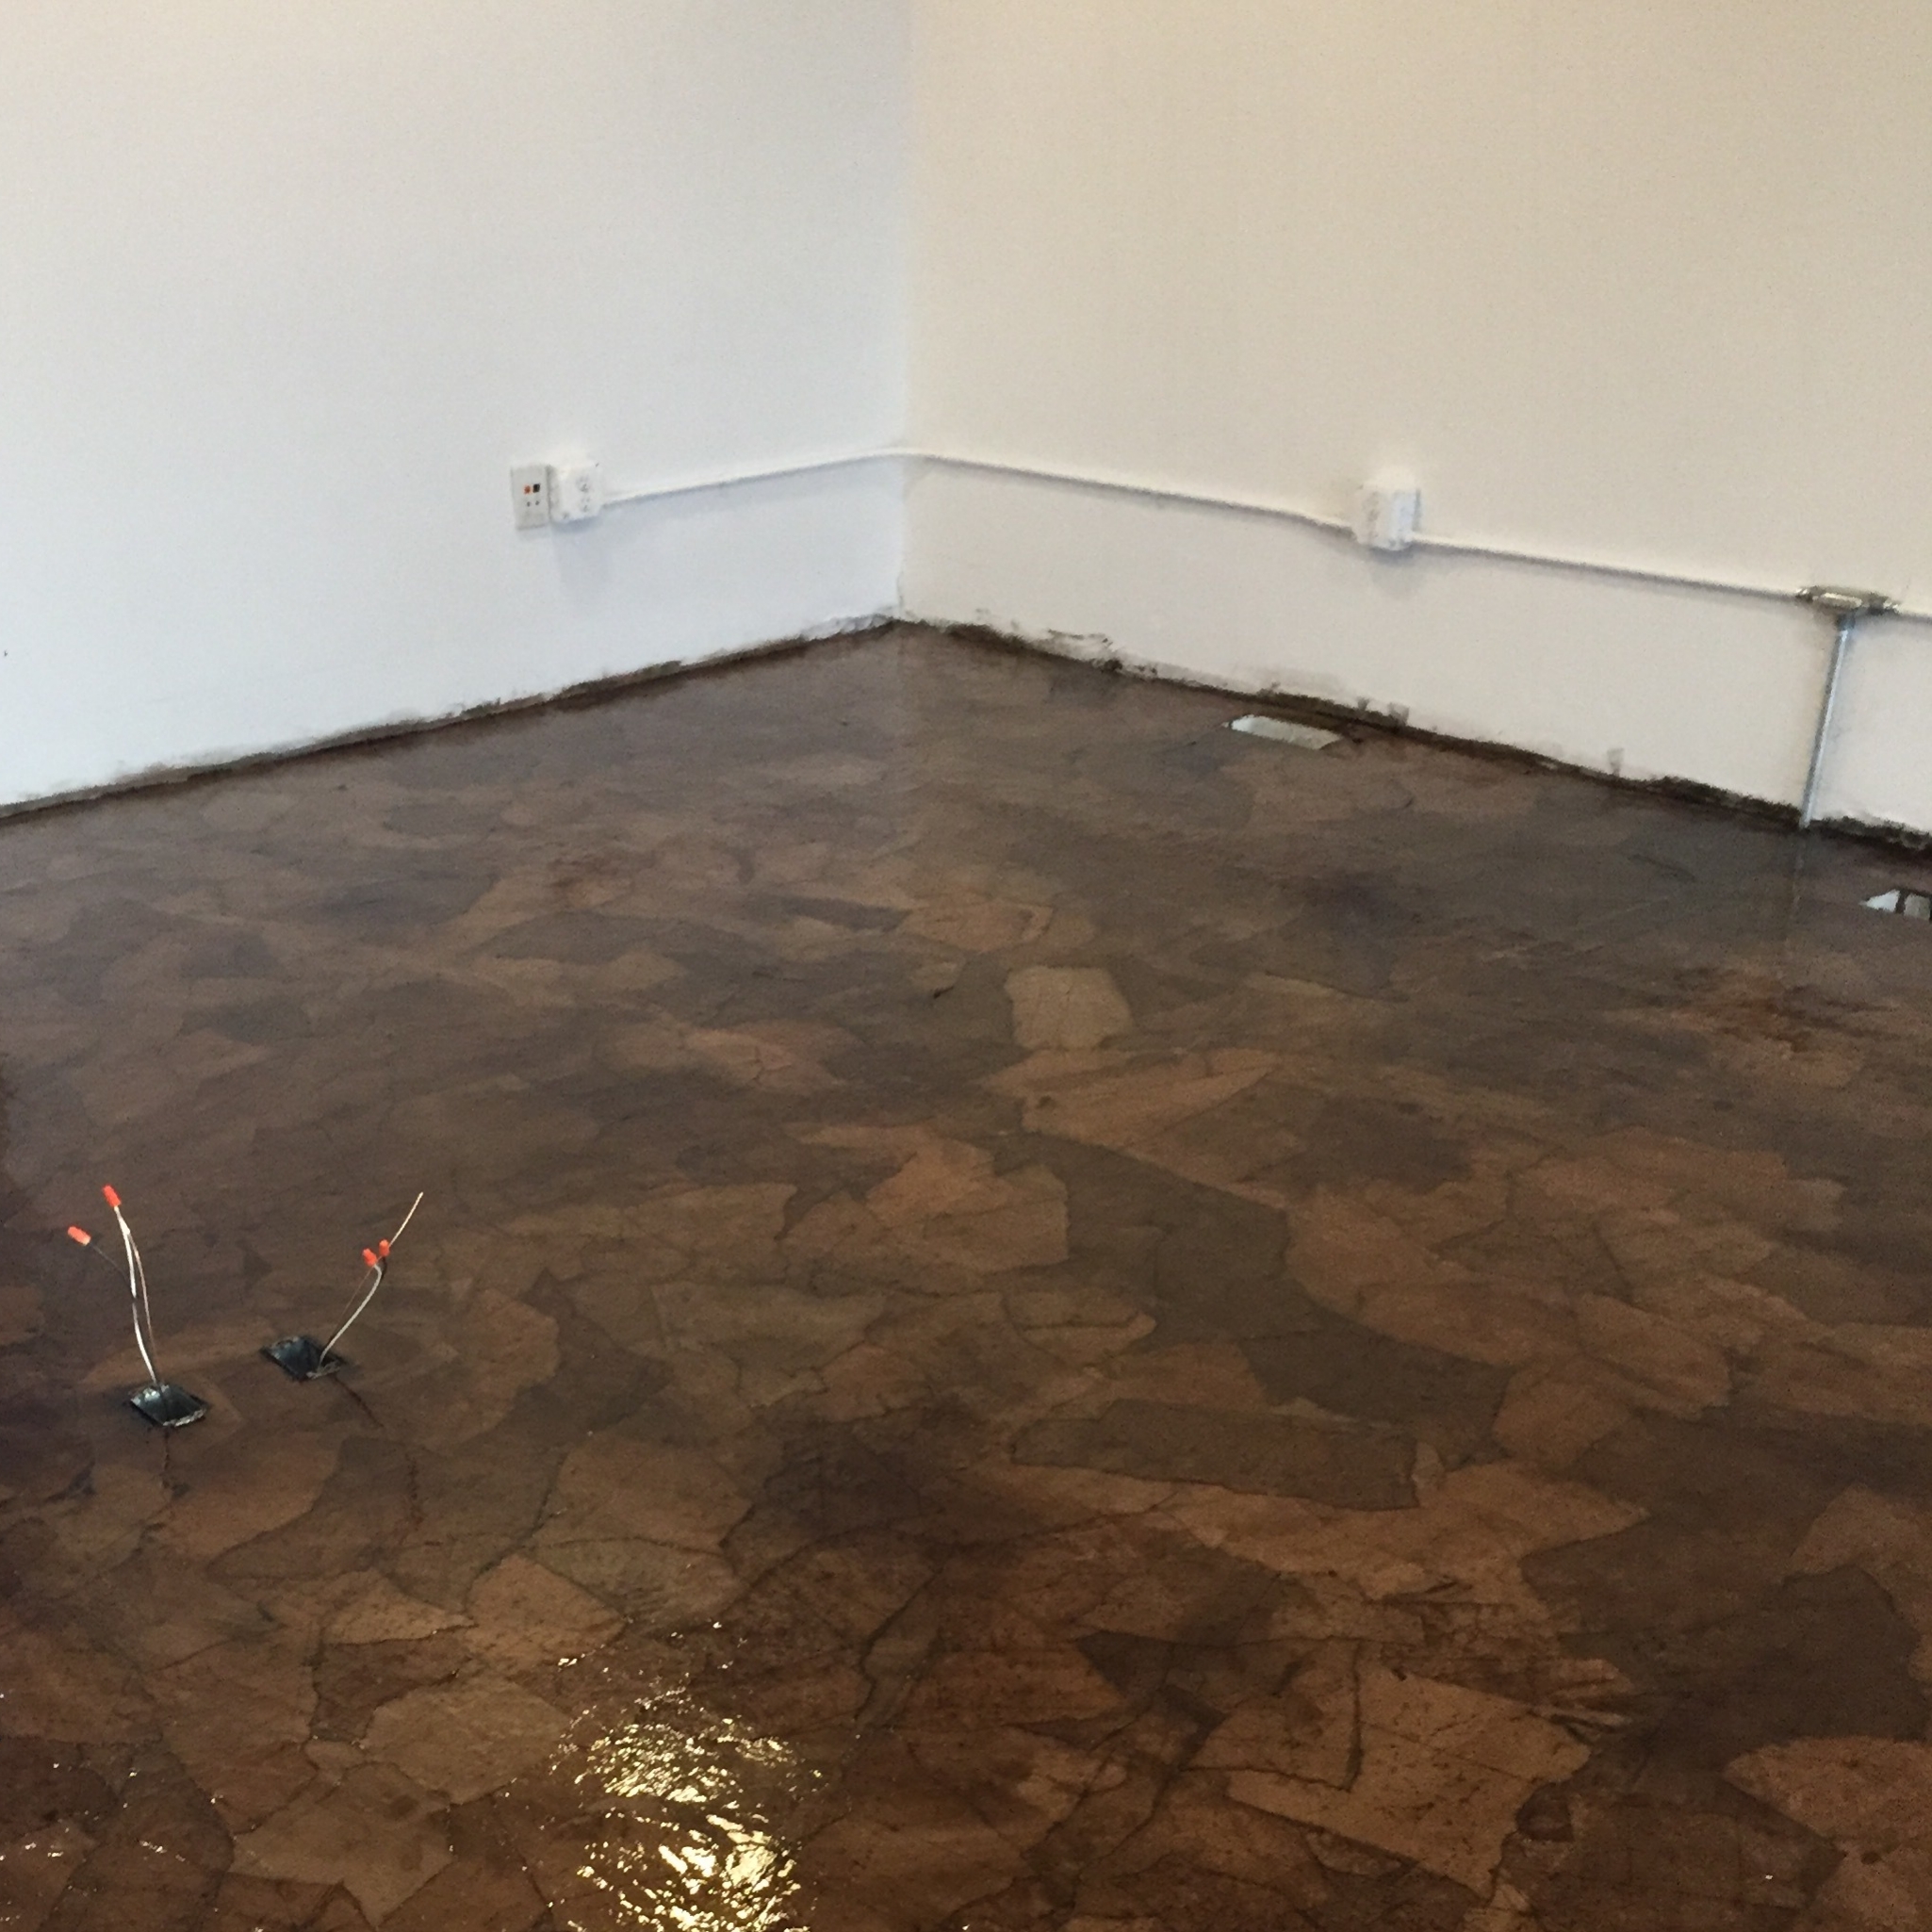
Step 6. Polyurethane. The final step includes several layers of sealing. For our 1,000 square foot space we applied five coats. We purchased five 3-galloon buckets of polyurethane at Lowe's along with a long sticked applicator to apply. It is important to stir the contents of the 3-galloon bucket thuroughly, eliminating bubbles that could possibly show through when rolled onto the floor. Between each layer we allowed at least five hours of dry time. Once the final coating was applied we allowed a 24 hour period before walking on the newly completed floors.
Step 7. We put up new trim around the bottom of the walls to cover up any stain that may have made its way up the wall ever so slightly. Trim give the room an overall look of completion. What do you think?